Flask SQLite

SQLite
- SQLite3 module of the python to create the database web applications. Here we will Create a CRUD (create - read - update - delete) application.
CRUD Application in Flask
Here we will manage the employee information in the SQLite database.
Sample code
- To create a database employee.DB and the table Employees in SQLite using the following python script.
EmoloyeeDB.py
import sqlite3

con = sqlite3.connect("employee.db")
print("Database opened successfully")
con.execute("create table Employees (id INTEGER PRIMARY KEY AUTOINCREMENT, name TEXT NOT NULL, email TEXT UNIQUE NOT NULL, address TEXT NOT NULL)")

print("Table created successfully")
con.close()
- Let us look at the view function: index() which is associated with the URL (/). It renders a template index.html.
@app.route("/")
def index():
    return render_template("index.html");
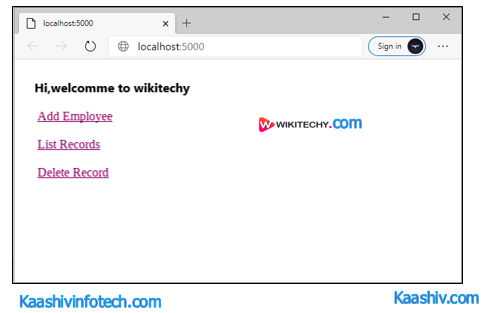
- The following HTML template (index.html) is considered as the home page of our application. It provides the links using which we can add, view, and delete the data stored in the database.
index.html
<!DOCTYPE html>
<html>
<head>
    <title>home</title>
</head>
<body>
    <h2>Hi, welcome to wikitechy</h2>
    <a href="/add">Add Employee</a><br><br>
    <a href ="/view">List Records</a><br><br>
    <a href="/delete">Delete Record</a><br><br>
</body>
</html>
The view function add() which is associated with the URL (/add) renders the template add.html given below. It provides the form to enter the employee information.
add.html
<!DOCTYPE html>
<html>
<head>
    <title>Add Employee</title>
</head>
<body>
    <h2>Employee Information</h2>
    <form action = "/savedetails" method="post">
    <table>
        <tr><td>Name</td><td><input type="text" name="name"></td></tr>
        <tr><td>Email</td><td><input type="email" name="email"></td></tr>
       <tr><td>Address</td><td><input type="text" name="address"></td></t>
        <tr><td><input type="submit" value="Submit"></td></tr>
    </table>
    </form>
</body>
</html>
- All the details entered by the Admin is posted to the URL /savedetails which is associated with the function saveDetails(). It also generates the message depending upon the cases in which the data is successfully inserted, or some error occurred.
@app.route("/savedetails",methods = ["POST","GET"])
def saveDetails():
    msg = "msg"
    if request.method == "POST":
        try:
            name = request.form["name"]
            email = request.form["email"]
            address = request.form["address"]
            with sqlite3.connect("employee.db") as con:
                cur = con.cursor()
                cur.execute("INSERT into Employees (name, email, address) values (?,?,?)",(name,email,address))
                con.commit()
                msg = "Employee successfully Added"
                except:
                con.rollback()
                msg = "We can not add the employee to the list"
                finally:
                return render_template("success.html",msg = msg)
                con.close()
- It renders a template success.html to display the message to the admin. It also contains a link to view the records entered by the user.
success.html
<!DOCTYPE html>
<html>
<head>
    <title>save details</title>
</head>
<body>
    <h3>Hi Admin, {{msg}}</h3>
    <a href="/view">View Employees</a>
</body>
</html>
- The delete() function is associated to the URL /delete. It renders an HTML template delete.html which provides the form to the admin that prompts to enter the Employee_Id of which the records are to be deleted. It also contains a link to the /view URL that shows all the records to the admin.
- The HTML template delete.html is given below.
delete.html
<!DOCTYPE html>
<html>
<head>
    <title>delete record</title>
</head>
<body>

    <h3>Remove Employee from the list</h3>

<form action="/deleterecord" method="post">
Employee Id <input type="text" name="id">
<input type="submit" value="Submit">
</form>
</body>
</html>
- The Employee_Id entered by the admin is posted to the URL /deleterecord which contains the python code to establish the connection to the database and then delete all the records for the specified Employee ID. The URL /deleterecord is associated with the function deleterecord() which is given below.
@app.route("/deleterecord",methods = ["POST"])
def deleterecord():
    id = request.form["id"]
    with sqlite3.connect("employee.db") as con:
        try:
            cur = con.cursor()
            cur.execute("delete from Employees where id = ?",id)
            msg = "record successfully deleted"
        except:
            msg = "can't be deleted"
        finally:
           return render_template("delete_record.html",msg = msg)
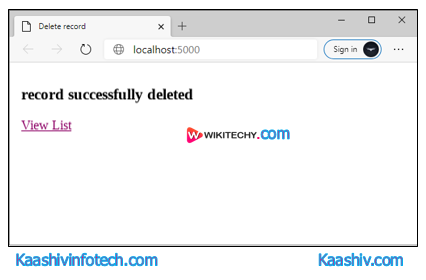
- The function deleterecord() generates a message depending upon the scenario whether the data is successfully deleted or some error occurred. It renders an HTML template delete_record.html to display the message to the admin.
delete_record.html
<!DOCTYPE html>
<html>
<head>
    <title>delete record</title>
</head>
<body>
<h3>{{msg}}</h3>
<a href="/view">View List</a>
</body>
</html>
- The template delete_record.html contains a link to the URL /view which shows the Employee records to the admin.
app.route("/view")
def view():
    con = sqlite3.connect("employee.db")
    con.row_factory = sqlite3.Row
    cur = con.cursor()
    cur.execute("select * from Employees")
    rows = cur.fetchall()
    return render_template("view.html",rows = rows)
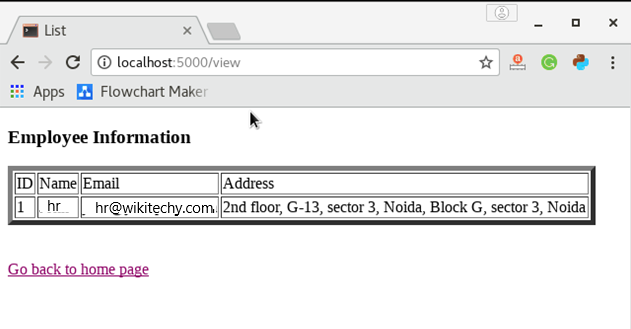
- The HTML template view.html which shows all the information on the browser is given below.
view.html
<!DOCTYPE html>
<html>
<head>
    <title>List</title>
</head>
<body>

<h3>Employee Information</h3>
<table border=5>
    <thead>
        <td>ID</td>
        <td>Name</td>
        <td>Email</td>
        <td>Address</td>
    </thead>

    {% for row in rows %}

        <tr>
            <td>{{row["id"]}}</td>
            <td>{{row["name"]}}</td>
            <td>{{row["email"]}}</td>
            <td>{{row["address"]}}</td>
        </tr>

    {% endfor %}
</table>
<br><br>

<a href="/">Go back to home page</a>

</body>
</html>
The full python script is given below.
crud.py
from flask import *
import sqlite3

app = Flask(__name__)
@app.route("/")
def index():
    return render_template("index.html");

@app.route("/add")
def add():
    return render_template("add.html")

@app.route("/savedetails",methods = ["POST","GET"])
def saveDetails():
    msg = "msg"
    if request.method == "POST":
        try:
            name = request.form["name"]
            email = request.form["email"]
            address = request.form["address"]
            with sqlite3.connect("employee.db") as con:
                cur = con.cursor()
                cur.execute("INSERT into Employees (name, email, address) values (?,??)",(name,email,address))
                con.commit()
                msg = "Employee successfully Added"
        except:
            con.rollback()
            msg = "We can not add the employee to the list"
        finally:
            return render_template("success.html",msg = msg)
            con.close()

@app.route("/view")
def view():
    con = sqlite3.connect("employee.db")
    con.row_factory = sqlite3.Row
    cur = con.cursor()
    cur.execute("select * from Employees")
    rows = cur.fetchall()
    return render_template("view.html",rows = rows)


@app.route("/delete")
def delete():
    return render_template("delete.html")

@app.route("/deleterecord",methods = ["POST"])
def deleterecord():
    id = request.form["id"]
    with sqlite3.connect("employee.db") as con:
        try:
            cur = con.cursor()
            cur.execute("delete from Employees where id = ?",id)
            msg = "record successfully deleted"
        except:
            msg = "can't be deleted"
        finally:
            return render_template("delete_record.html",msg = msg)

if __name__ == "__main__":
   app.run(debug = True)
- Run the python script EmployeeDB.py to create the database and the Employees table using the following command on the terminal.
$ python EmployeeDB.py
Read Also
Output
Employee Sqllite
- Click on the link Add Employee to add a new employee to the database.
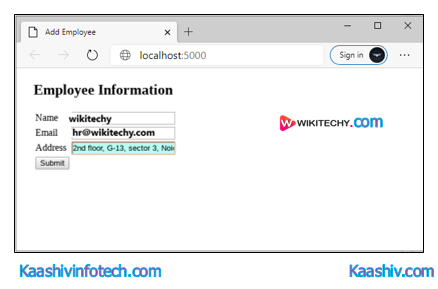
Add Employee
- Fill this form and click submit to save the details into the database
SQLite Save
- Now click on the view employee to list all the employees of the database.
SQLite Employee Output
- Now click on the Delete Record
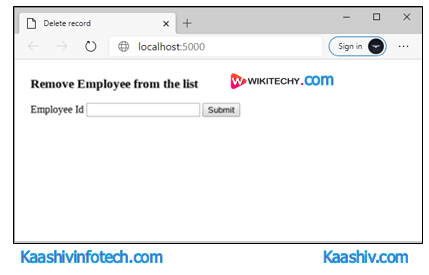
SQLite Delete
- Enter any employee id for which the records are to be deleted
Delete Records
- Hence, the record for the employee with id 1 is deleted. Here, we can confirm this by viewing the list. Click View List to view the list.
If you want to learn about Python Course , you can refer the following links Python Training in Chennai , Machine Learning Training in Chennai , Data Science Training in Chennai , Artificial Intelligence Training in Chennai