Android tutorial - Android Animation - android app development - android studio - android development tutorial
Learn android - android tutorial - Android animation - android examples - android programs
What is Android Animation?
- Animation is the process of creating motion and shape change.
- Animation in android is possible from several ways.
- One easy and broadly used way of creating animation called tweened animation.

What is Tweened Animation?
- Tween Animation takes some parameters such as start value, end value, size, time duration, rotation angle etc. & perform the required animation on that object.
- It can be applied to any type of object. So in order to use this, android has provided us a class called Animation.
- In order to perform animation in android, we are going to call a static function loadAnimation() of the class AnimationUtils.
- We are going to receive the result in an instance of Animation Object.
Android Animation Example
- Android offers you a huge number of classes & interface for the animation development.
- Most of the classes & interfaces are given in android.animation package.
- Android Animation enables you to change the object property and behavior at run time. There are many ways to do animation in android.
- The AnimationDrawable class provides methods to start & end the animation. Even, you can use time based animation.
activity_main.xml / wikitechy_main.xml
- You need to have a view only.
- File: activity_main.xml / wikitechy_main.xml
<RelativeLayout xmlns:android="http://schemas.android.com/apk/res/android"
    xmlns:tools="http://schemas.android.com/tools"
    android:layout_width="match_parent"
    android:layout_height="match_parent"
    android:paddingBottom="@dimen/activity_vertical_margin"
    android:paddingLeft="@dimen/activity_horizontal_margin"
    android:paddingRight="@dimen/activity_horizontal_margin"
    android:paddingTop="@dimen/activity_vertical_margin"
    tools:context=".MainActivity" >

    <View
             />

</RelativeLayout>
click below button to copy the code from android tutorial team
- File: logo.xml
- Have a image view only.
<?xml version="1.0" encoding="utf-8"?>
<ImageView xmlns:android="http://schemas.android.com/apk/res/android"
    android:layout_width="match_parent"
    android:layout_height="match_parent"
    android:id="@+id/anm"
     >

</ImageView>
click below button to copy the code from android tutorial team
MainActivity class
- File: MainActivity.java
package com.wikitechy.animation;

import android.os.Bundle;
import android.app.Activity;
import android.graphics.drawable.AnimationDrawable;
import android.widget.ImageView;

public class MainActivity extends Activity {

    ImageView anm;
     public void onCreate(Bundle savedInstanceState) {
            super.onCreate(savedInstanceState);
            setContentView(R.layout.logo);
            anm = (ImageView)findViewById(R.id.anm);

            anm.setBackgroundResource(R.drawable.animation);
        // the frame-by-frame animation defined as a xml file within the drawable folder

            /*
             * NOTE: It's not possible to start the animation during the onCreate.
             */
        }
     public void onWindowFocusChanged (boolean hasFocus) {
            super.onWindowFocusChanged(hasFocus);
            AnimationDrawable frameAnimation =
                (AnimationDrawable) anm.getBackground();
            if(hasFocus) {
                frameAnimation.start();
            } else {
                frameAnimation.stop();
            }
        }

}
click below button to copy the code from android tutorial team
- You need to create animation.xml file inside res/drawable-hdpi directory.
- You need to have several images. Here, we are using 14 images & all the 14 images are placed inside res/drawable-mdpi directory.
- File: animation.xml
<?xml version="1.0" encoding="utf-8"?>
<animation-list xmlns:android="http://schemas.android.com/apk/res/android"
    android:oneshot="false">

    <item android:drawable="@drawable/frame0" android:duration="120" />
    <item android:drawable="@drawable/frame1" android:duration="120" />
    <item android:drawable="@drawable/frame2" android:duration="120" />
    <item android:drawable="@drawable/frame3" android:duration="120" />
    <item android:drawable="@drawable/frame4" android:duration="120" />
    <item android:drawable="@drawable/frame5" android:duration="120" />
    <item android:drawable="@drawable/frame6" android:duration="120" />
    <item android:drawable="@drawable/frame7" android:duration="120" />
    <item android:drawable="@drawable/frame8" android:duration="120" />
    <item android:drawable="@drawable/frame9" android:duration="120" />
    <item android:drawable="@drawable/frame10" android:duration="120" />
    <item android:drawable="@drawable/frame11" android:duration="120" />
    <item android:drawable="@drawable/frame12" android:duration="120" />
    <item android:drawable="@drawable/frame13" android:duration="120" />
    <item android:drawable="@drawable/frame14" android:duration="120" />
    <item android:drawable="@drawable/frame14" android:duration="120" />
    <item android:drawable="@drawable/frame13" android:duration="120" />
    <item android:drawable="@drawable/frame12" android:duration="120" />
    <item android:drawable="@drawable/frame11" android:duration="120" />
    <item android:drawable="@drawable/frame10" android:duration="120" />
    <item android:drawable="@drawable/frame9" android:duration="120" />
    <item android:drawable="@drawable/frame8" android:duration="120" />
    <item android:drawable="@drawable/frame7" android:duration="120" />
    <item android:drawable="@drawable/frame6" android:duration="120" />
    <item android:drawable="@drawable/frame5" android:duration="120" />
    <item android:drawable="@drawable/frame4" android:duration="120" />
    <item android:drawable="@drawable/frame3" android:duration="120" />
    <item android:drawable="@drawable/frame2" android:duration="120" />
    <item android:drawable="@drawable/frame1" android:duration="120" />
    <item android:drawable="@drawable/frame0" android:duration="120" />

</animation-list>
click below button to copy the code from android tutorial team
- Download this android example
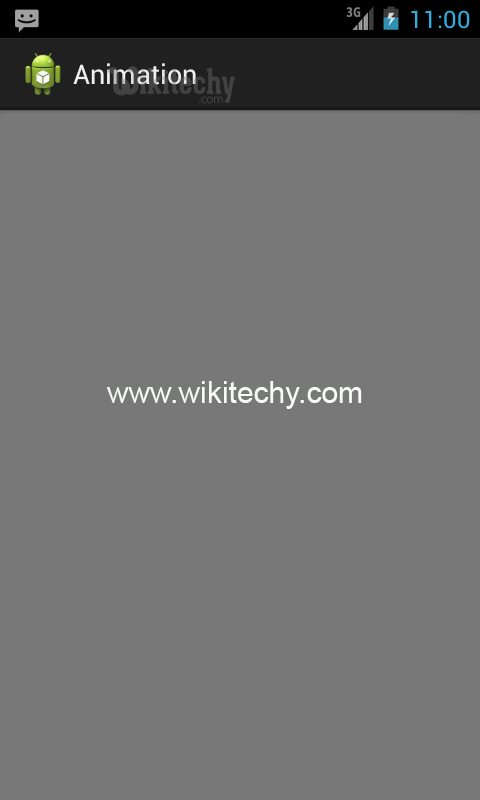
Output: