Android tutorial - android development kit | Locate and change SDK in Android Studio - android studio tutorial
- A software development kit that enables developers to create applications for the Android platform.
- The Android SDK includes sample projects with source code, development tools, an emulator, and required libraries to build Android applications.
- This article we will learn how to find out SDK in android studio and how to change it.
- If you have downloaded SDK separately and want to integrate newly updated SDK in android studio follow the below given steps:

How to Locate and change SDK in Android Studio
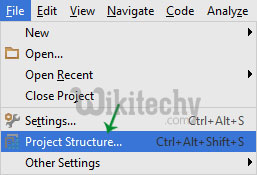
- Step 1: Open your Android Studio.
- Step 2: Go to android studio menu. File > Project Structure.
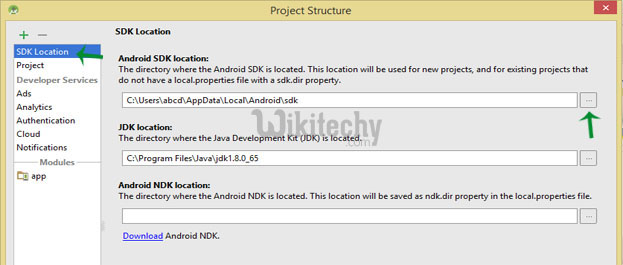
- Step 3: In project structure window, on top left there is an option SDK location
- Step 4: Under Android SDK location option your current SDK is located
- Step 5: If you want to change it then click on the square box given on the end of url.
- Step 6: It will show you a dialog box, select the new SDK from your drive and Click OK.
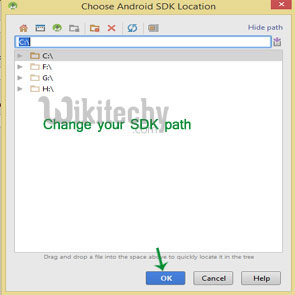
- Now you can Rebuilt your project and run it.