Android tutorial - Android version based coding | Android Coding App - android app development - android studio - android development tutorial

Android version:
- Look for “Android version” to find the version of Android installed on your device.
- It just displays the version number, not the code name
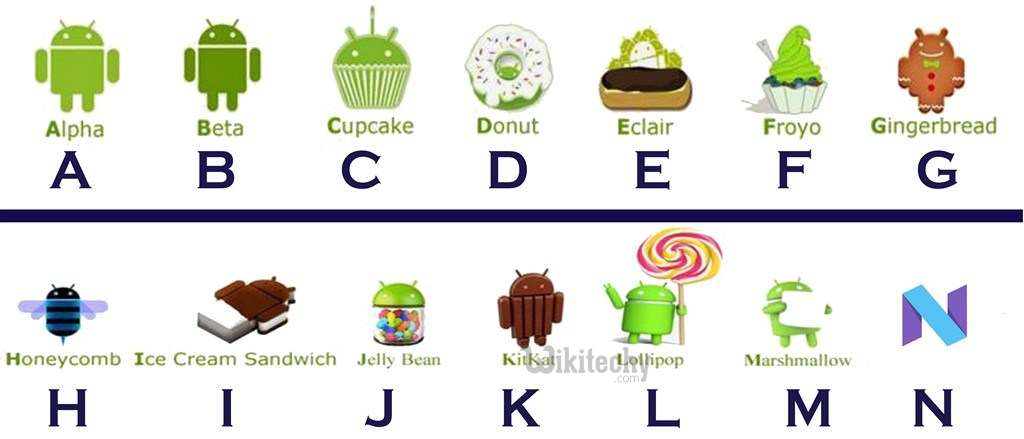
- For example, it says “Android 6.0” instead of “Android 6.0 Marshmallow”. ... Android 4.1 – 4.3.1: Jelly Bean.
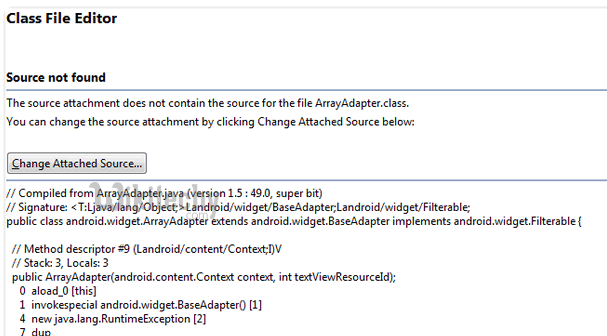
- By default, Android SDK or Eclipse ADT plugin are not bundle with any Android’s source code for debugging.
- In Eclipse IDE, step into any Android class will prompt no source code attach, see following screen:

Solution
- According to this official Android source code article, it’s shocked that we need to use “repo” to download and then build the entire source code to get the source for “android.jar“.
- If you think above is too much works, alternatively, you can install the Eclipse plugin called “Android Source” to get source for “android.jar“. Read this article “Additional Eclipse plugins for Android“.
- After installing the “Android source” plugin, suppose the existing projects as well as new created projects which is targeted for Android will have attached the source jar automatically. However, my existing Android project still didn’t attach to the correct source, we need to attach it manually.
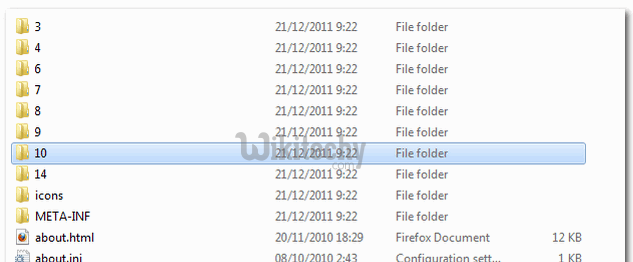
Locate “Android Source” plugin folder, it should be in following directory:
ECLIPSE_PATH\plugins\com.android.ide.eclipse.source_MAY_BE_VARYclick below button to copy the code from android tutorial team

- 14 - Android 4.0.1
- 10 - Android 2.3.4
- 9 - Android 2.3
- 8 - Android 2.2
- 7 - Android 2.1
- 6 - Android 2.0.1
- 4 - Android 1.6
- 3 - Android 1.5
- Each folder contain a “sources.zip“, which target to specific Android version. For example, if you develop Android 2.3, then get the “sources.zip” from folder “10“, and attach it to the Eclipse IDE manually.
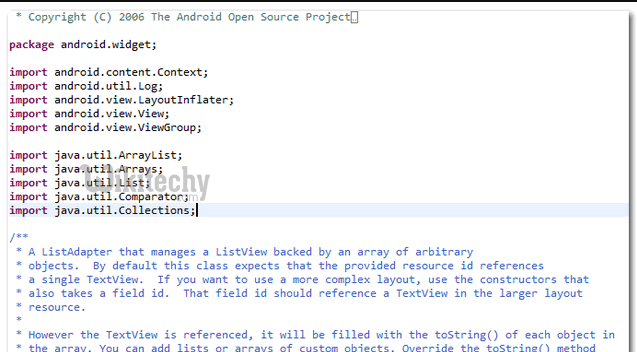
- Step into Android class again, source code is display.

