Android tutorial - Android studio tutorial | How to Add/Create Landscape Layout in Android Studio - android studio tutorial

What is Landscape Layout?
- Users will often switch to landscape orientation for comfort or more horizontal screen space.
- But we must make sure that controls are accessible to User even if screen orientation is changed & also should feel comfortable to work on it.
- When the screen orientation is changed & also how to organize the controls when the orientation is changed to landscape layout.
Add/Create Landscape Layout in Android Studio
- In android, every application is designed with both the orientations
- Portrait orientation and
- Landscape orientation.
- By default, Android Studio provides you the option to design your application in Portrait mode but for Landscape we need to make some extra settings or more specifically
- We need to add/create a Landscape Layout folder under res folder.
- As per Android developer website guide lines the name of this folder should be “layout-land”. You need to create the same.
How to Add / Create Landscape Layout in Android Studio
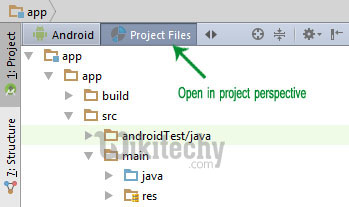
Step 1:
- Open your Android Studio and if your project is opened in “Android” perspective then change it to “Project” Perspective (Option is available on the Left side of your android studio)
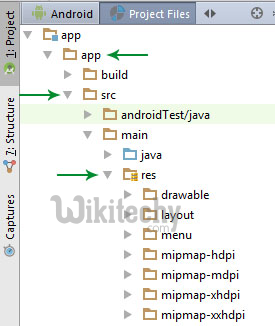
Step 2:
- Open App folder inside your project folder
Step 3:
- Then open src > main >res.
- you have all the folder which help in creating UI for your app.
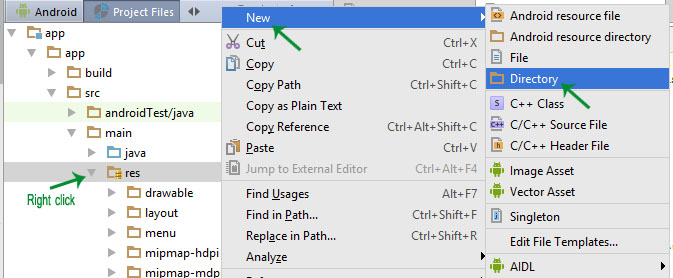
Step 4:
- Right click on res folder click New>Directory.
- Android studio will open a dialog box.
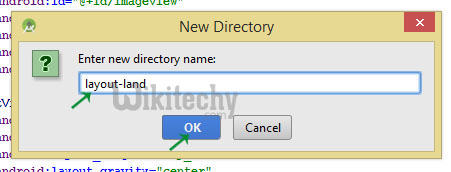
Step 5:
- Inside Dialog box you have to give a directory name or you can say name of our new folder.
- So, it would be “layout-land”.
- Click Ok button.
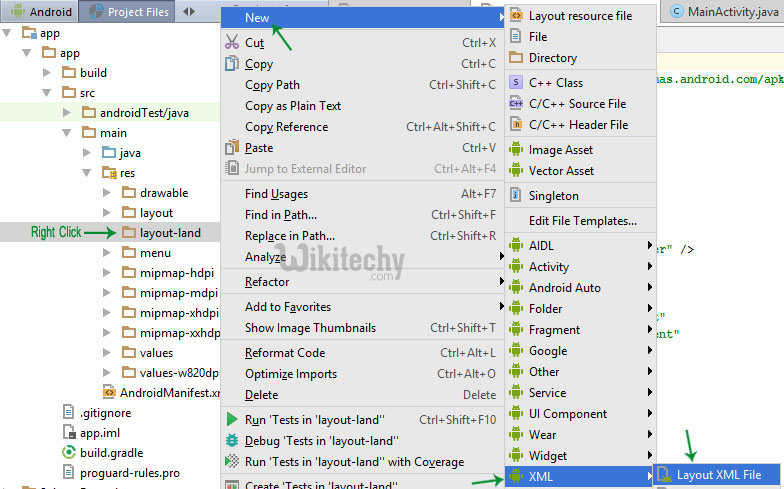
Step 6:
- Now you have “layout-land” folder in your project.
- Right click on it New>XML>Layout XML file.
- This file will be create inside layout folder(portrait)
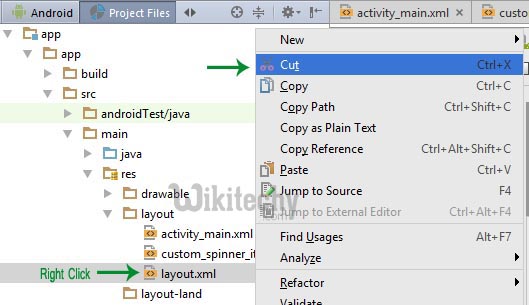
Step 7:
- Cut the layout xml file
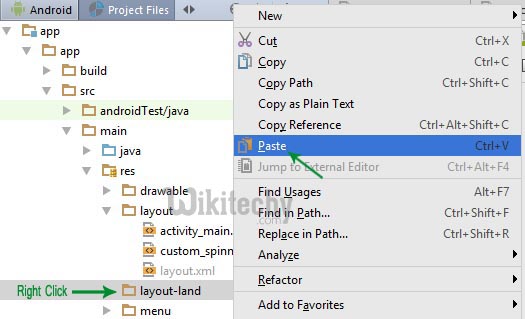
Step 8:
- Paste it under your “layout-land” folder and click ok button.
- Now open your xml file.
- You will get the Landscape mode.
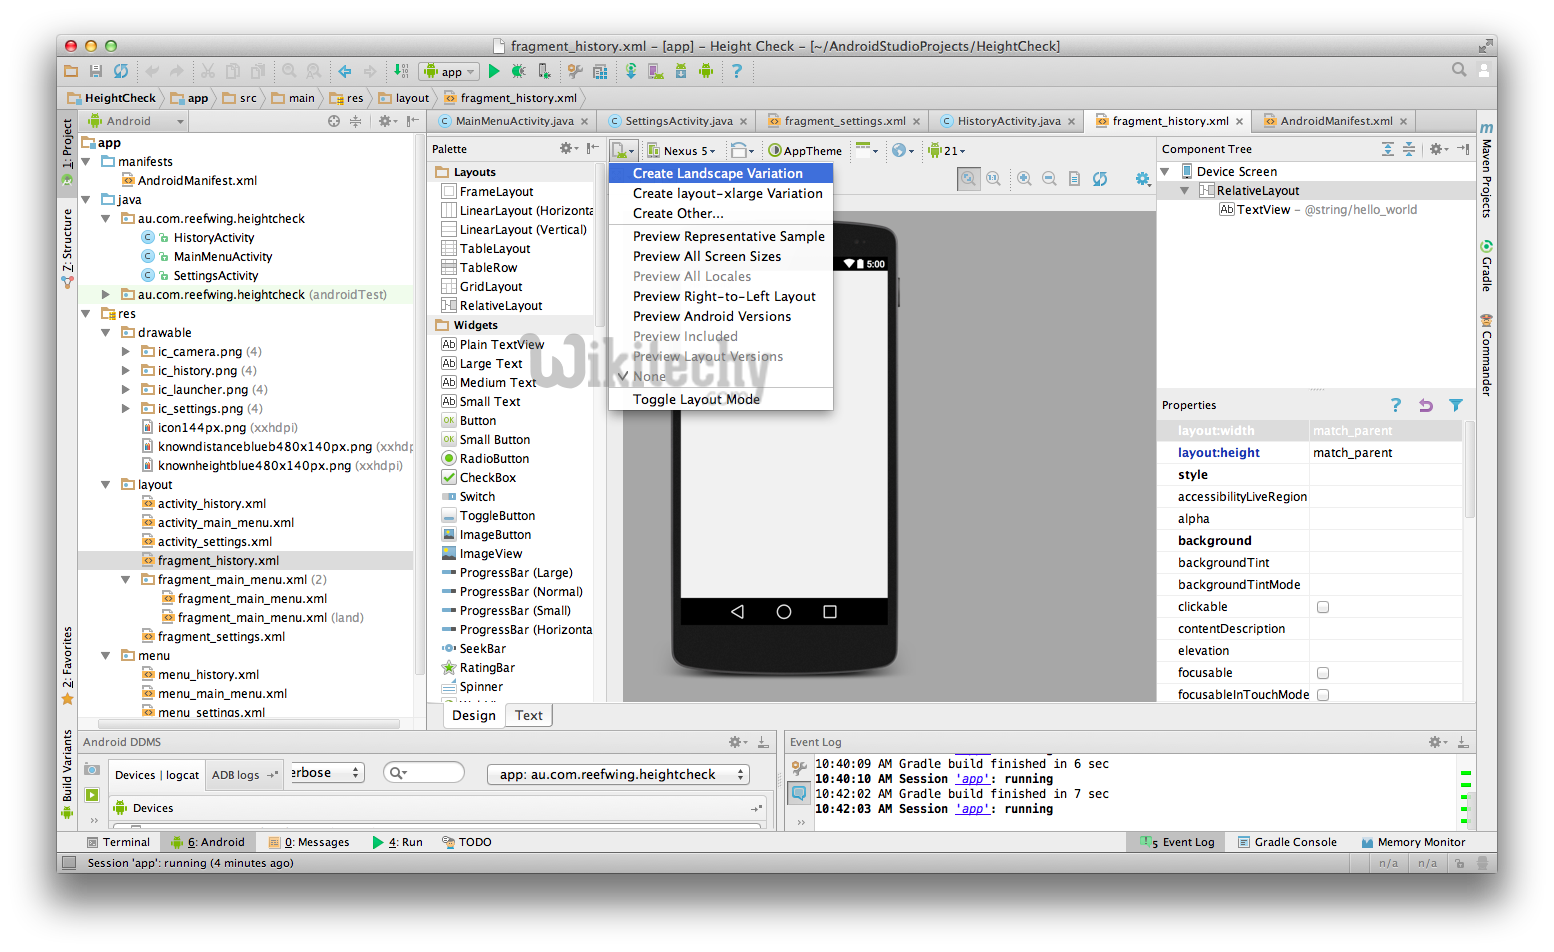
Additional Options to create landscape based android app:
- In the current version of Android Studio (v1.0.2)
- you can simply add a landscape layout by clicking on the button in the visual editor shown in the screenshot below. Select "Create Landscape Variation"